
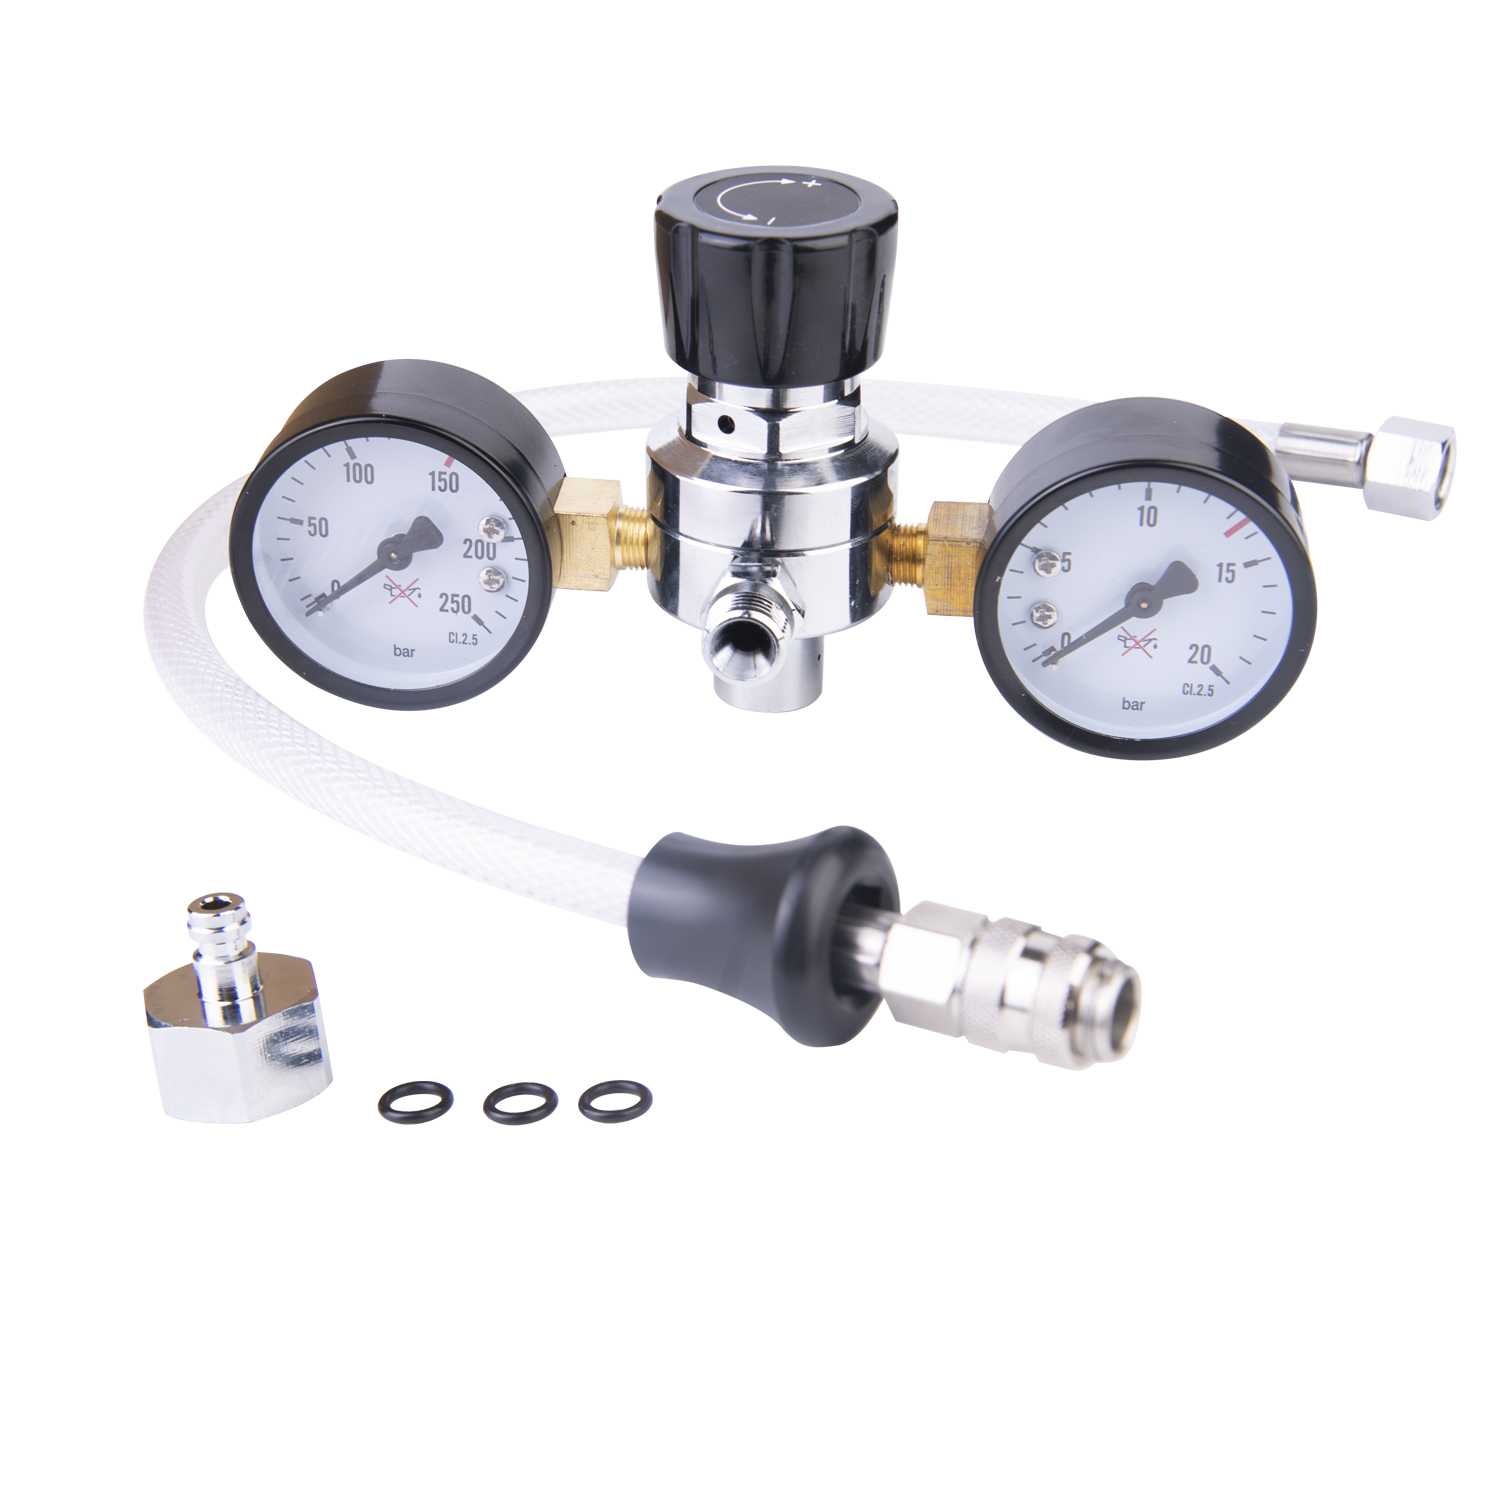


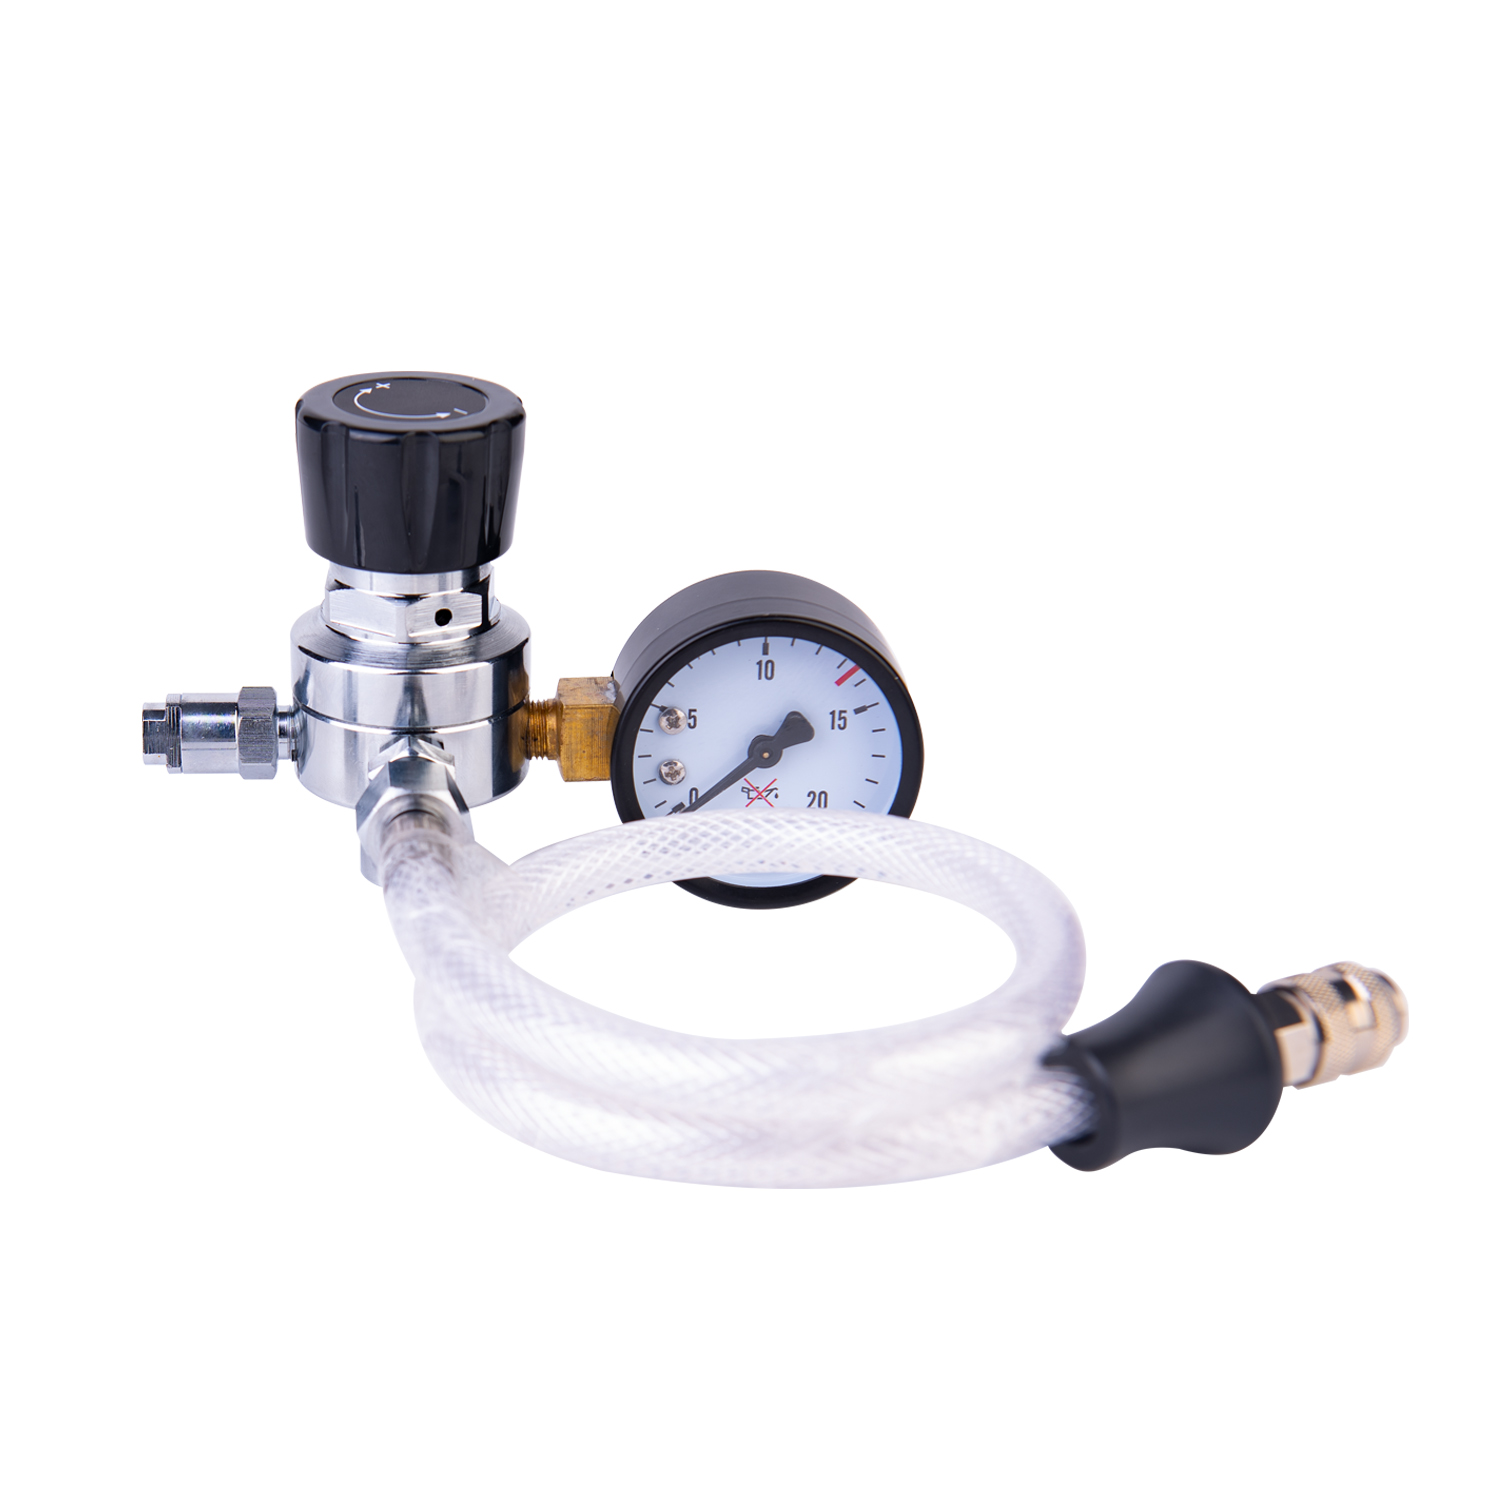
Method of Use
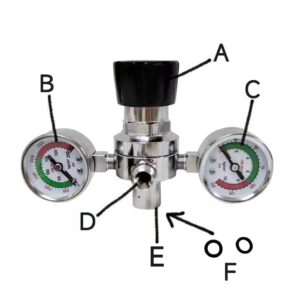
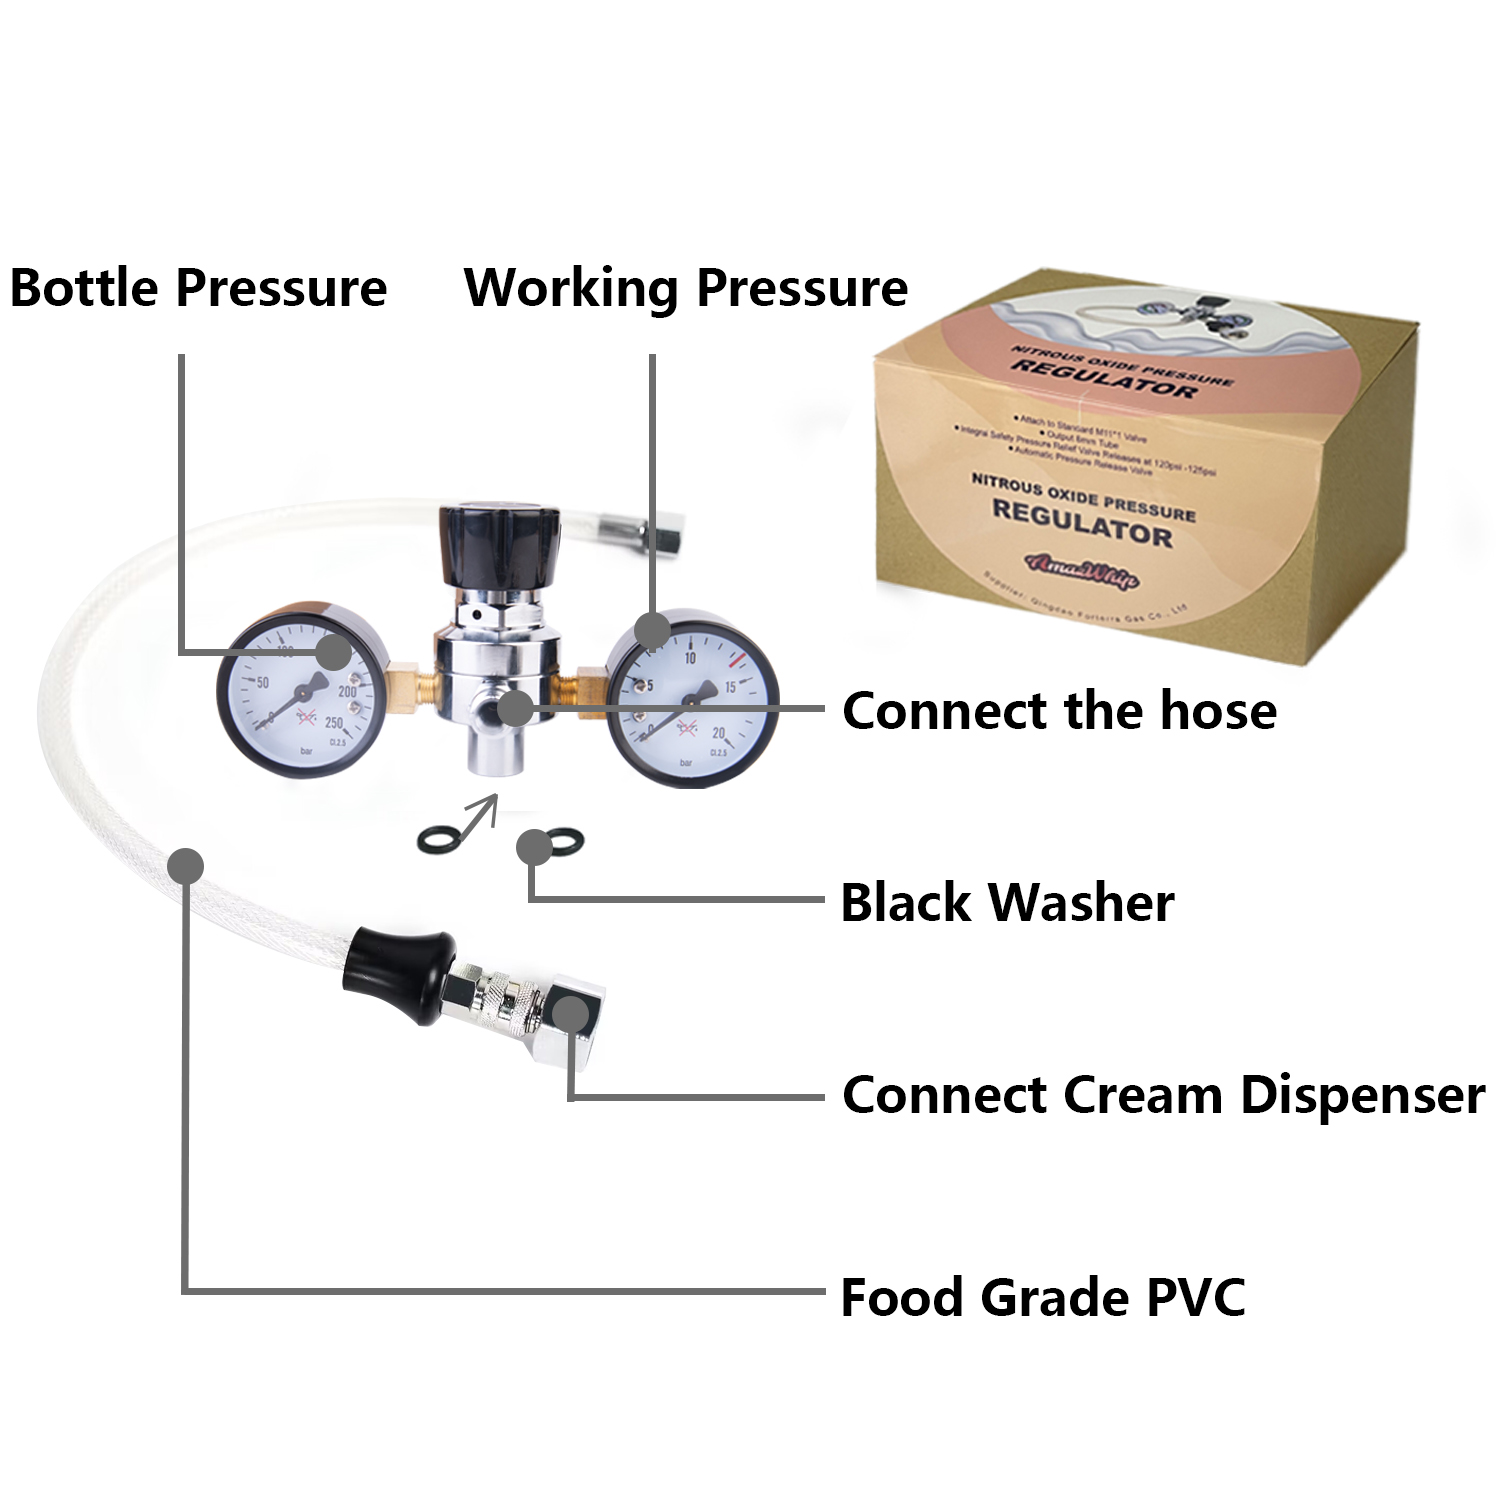
A: Adjusting Knob– adjust the working pressure.
B: High-pressure Gauge–show the pressure in the nitrous oxide tank.
C: Low-pressure Gauge–show the working pressure.
D: Connect the hose.
E: Inlet Connector–connect the nitrous oxide tank.
F: Black Washer–put inside the E.
How To Use
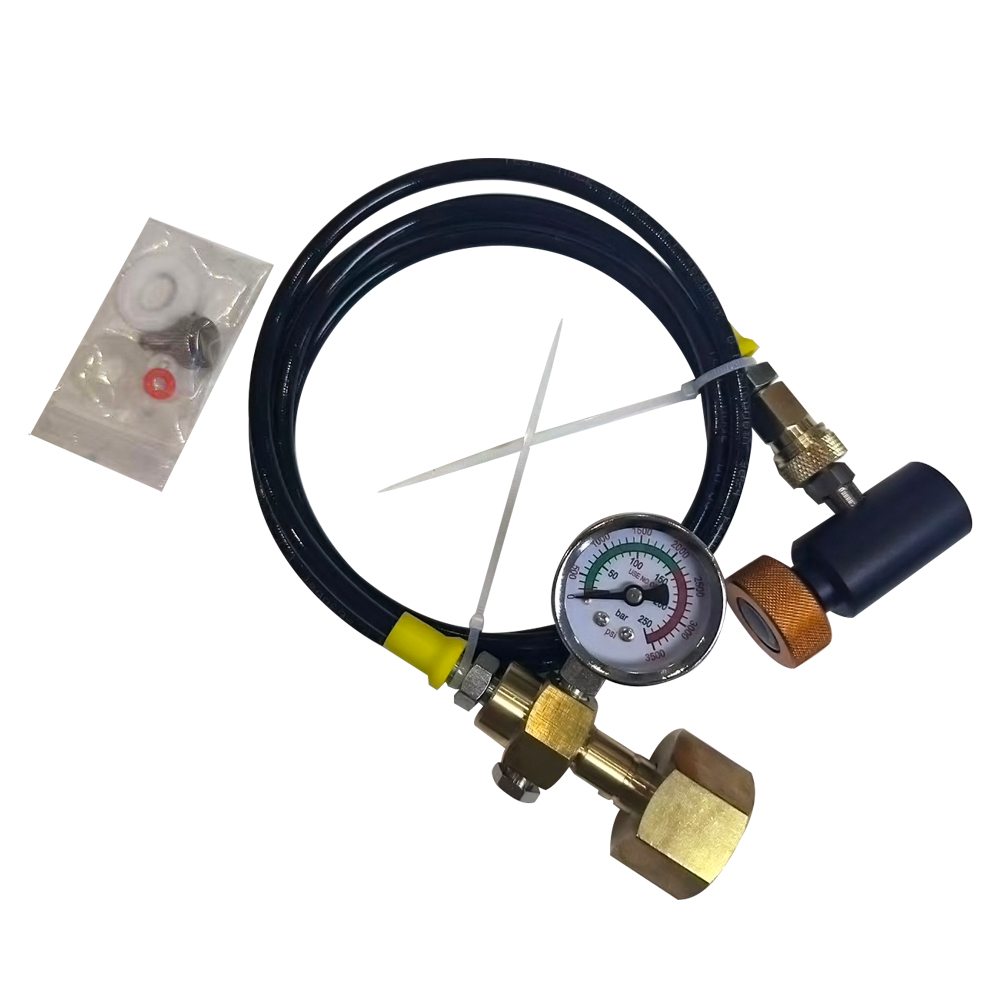
1.Rotate the adjusting knob counter clockwise to the loosest status to prevent the gauge from explosives due to high pressure.
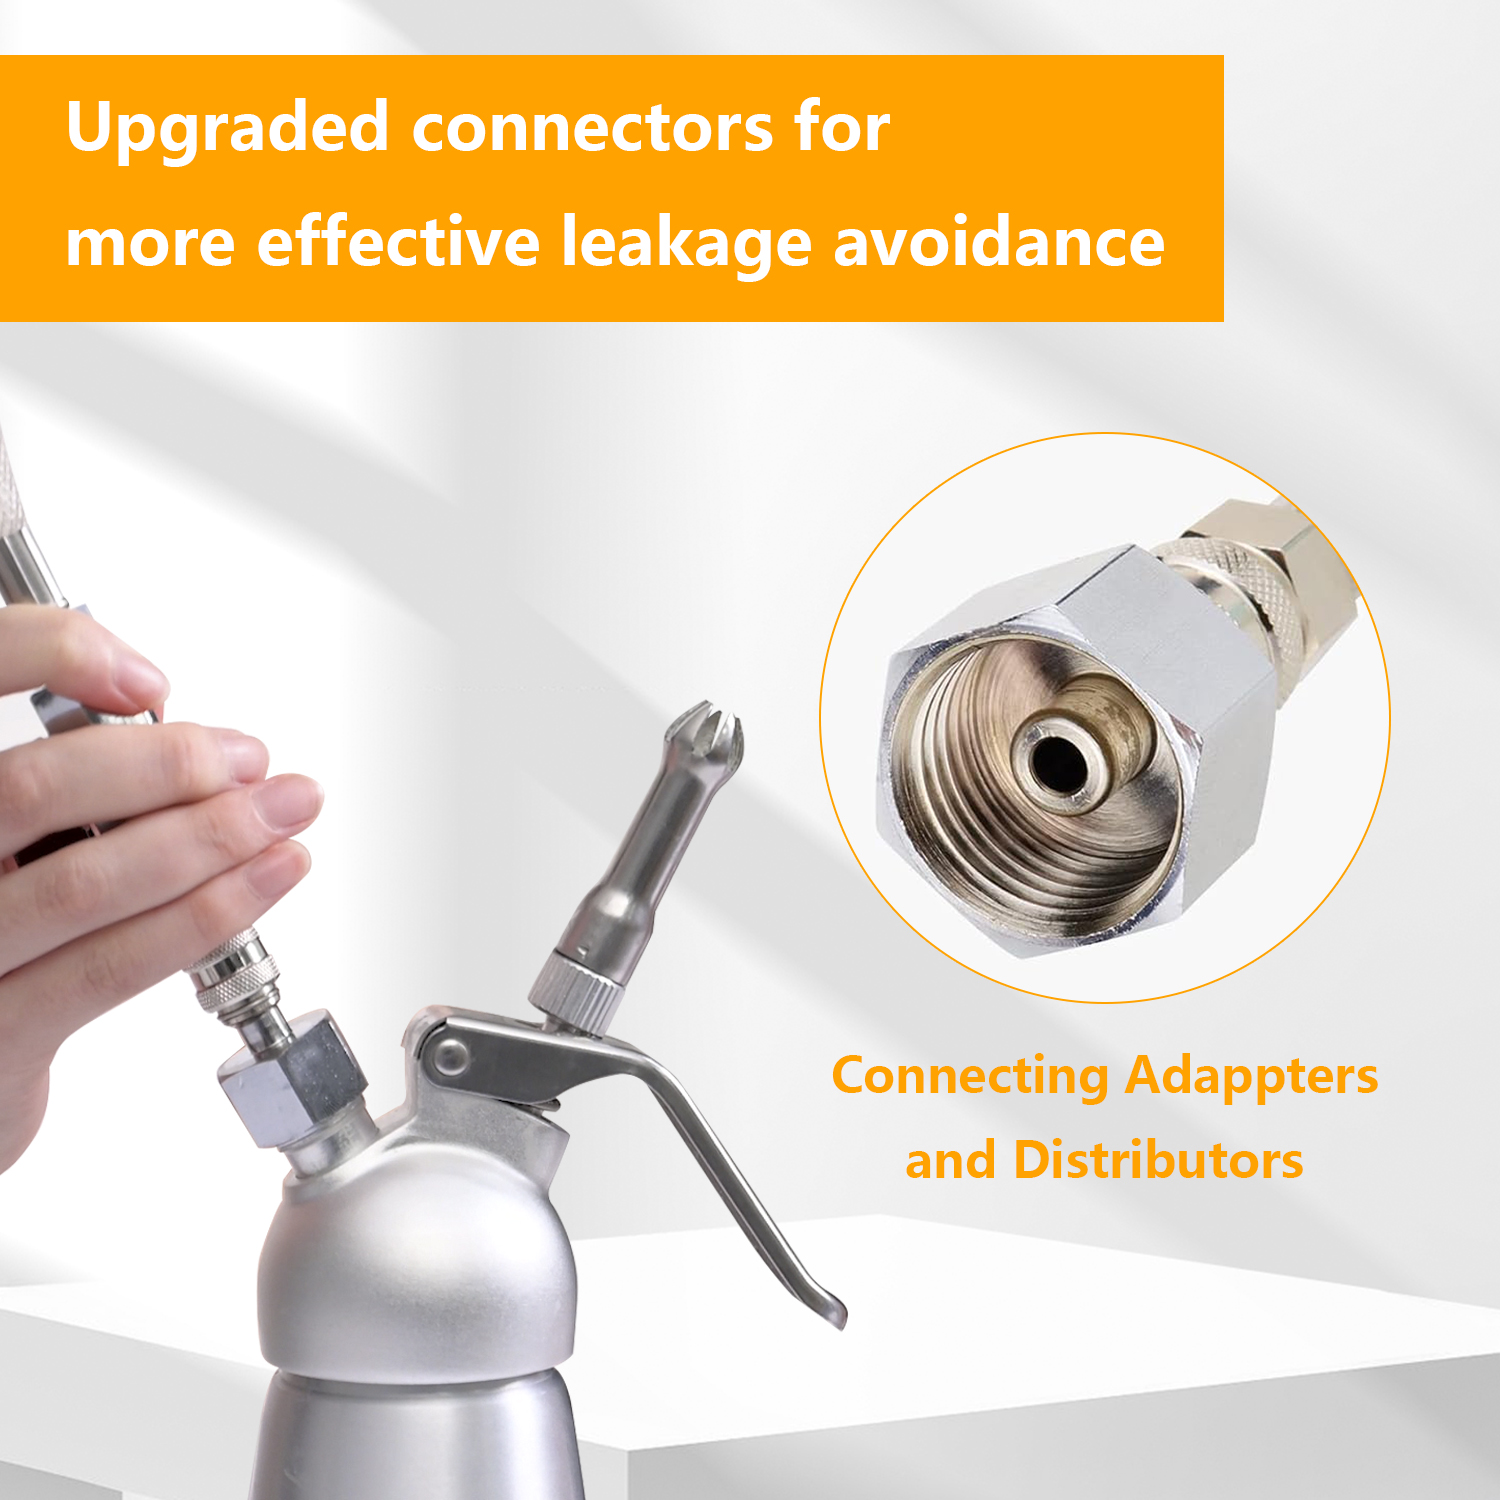
2.Attach the regulator to the nitrous oxide tank. Make sure the black washer is placed inside, in order to prevent gas leakage.
3.Connect the hose to the regulator and the tank. Notice: when screwing the pressure regulator, hold the regulator body instead of the adjusting knob.
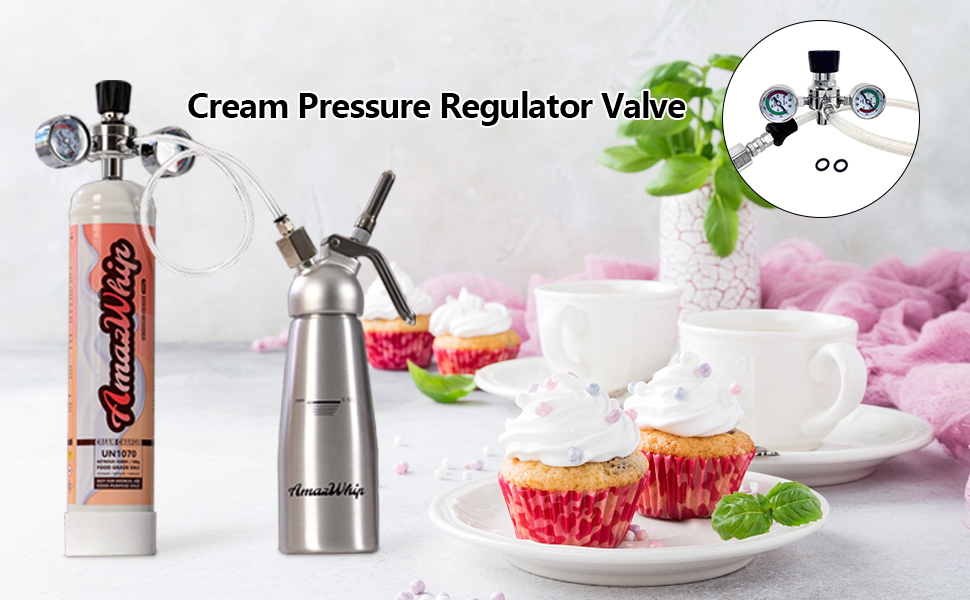
4.Pour the heavy cream (1/2 pint max) into the cream dispenser and close the lid properly.
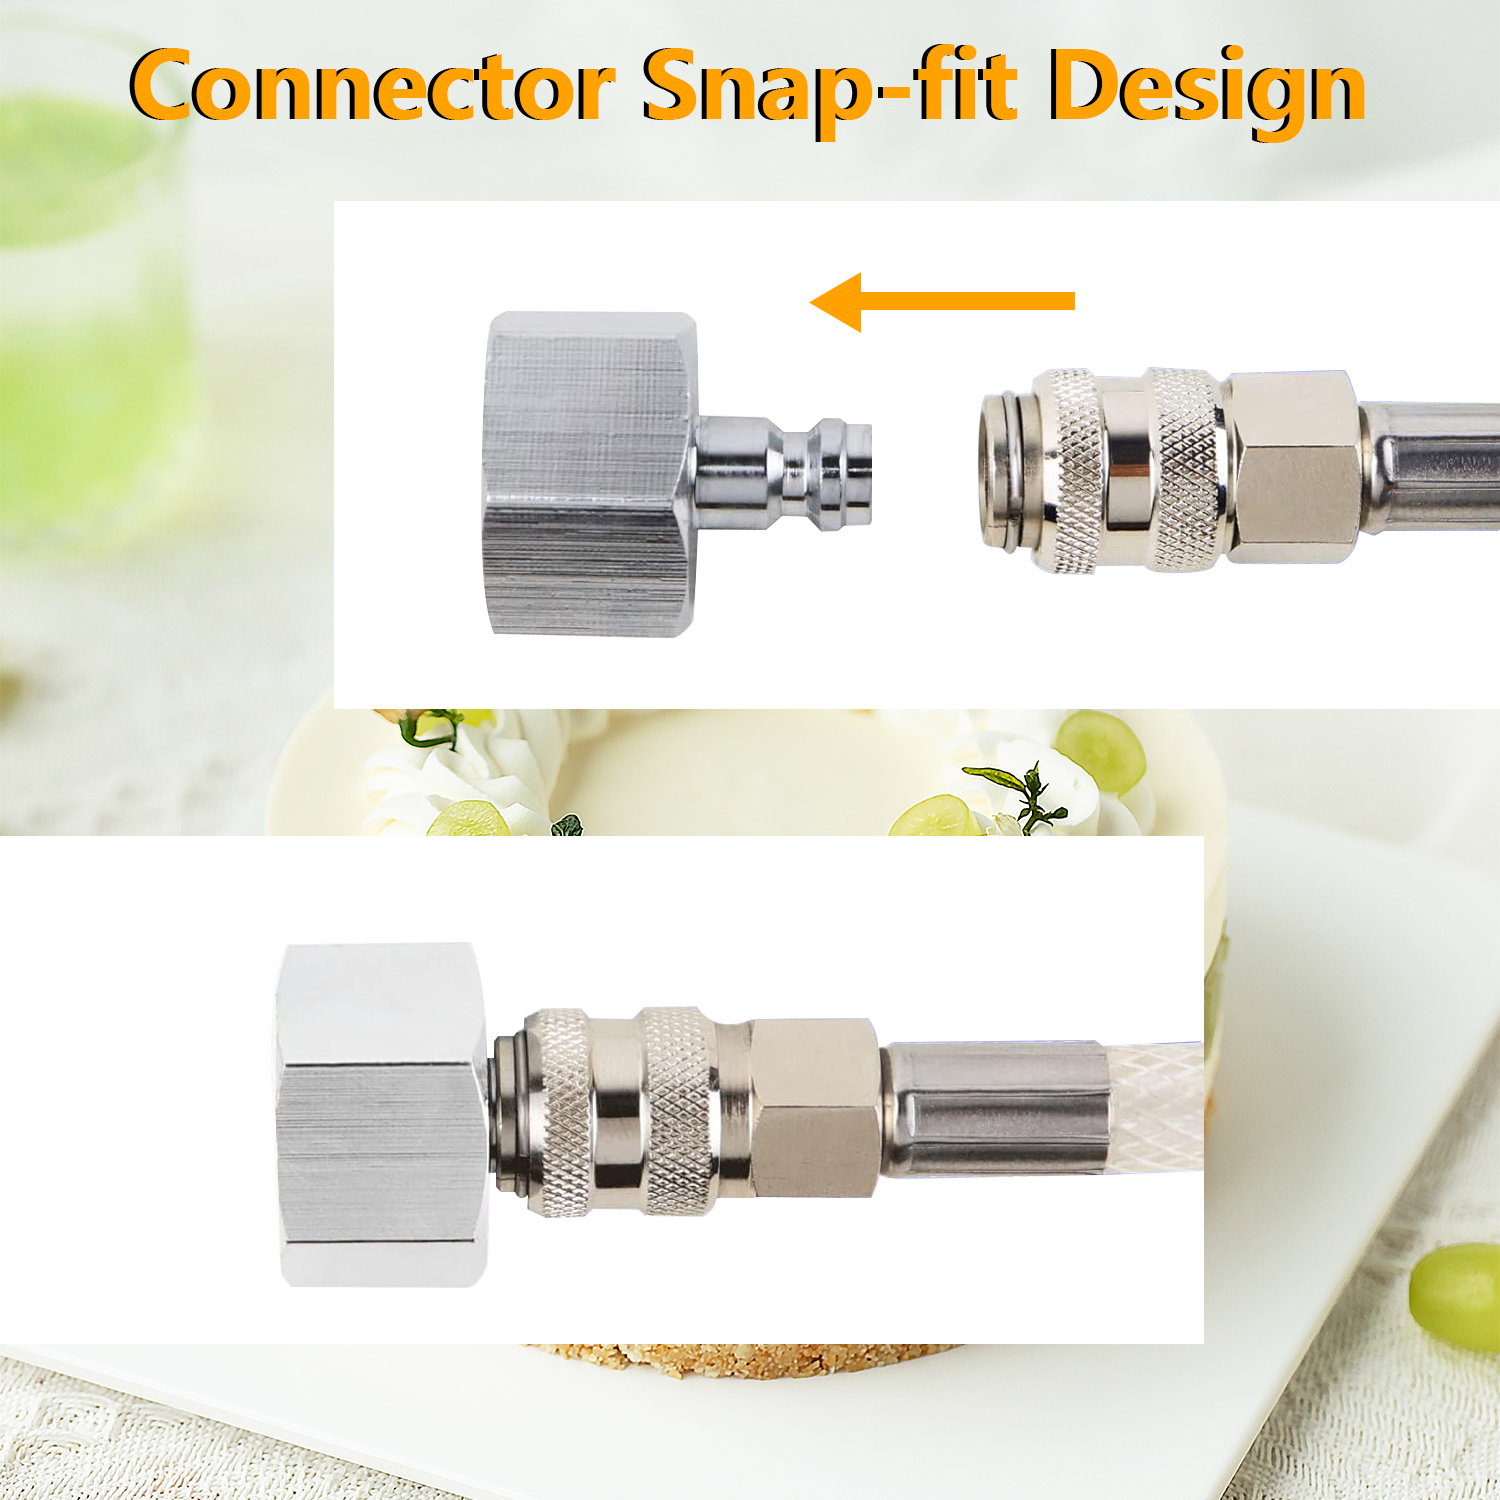
5.Connect the pressure regulator hose to your cream dispenser and other parts (adaptor, filling nozzle).
6.Now, slightly clockwise rotate the adjusting knob for the required pressure (e.g.:100ml/6.5bar). Then you will hear the sound of gas flowing into the whipping dispenser.
7.As soon as the gas-flowing sound stops (usually takes 5 seconds), close the regulator by turning the knob counter clockwise to the loosest status.
8.Disconnect the pressure regulator hose from the cream dispenser.
9.Shake your dispenser upside-down for 30 seconds to constant gas distribution and get your perfect cream.
Pressure Proportion in Whipped Cream Dispenser
Before using a whipping dispenser with a nitrous oxide pressure regulator, we should consider some factors that help to attain desired gas pressure from nitrous oxide cylinders. Here is a pressure regulator table that helps you to tailor the pressure to make perfect bakery items.
| Cream volume (in ml) | Amount | Pound per Square Inch (PSI) | Bar |
|---|---|---|---|
| 50ml | 1 | 73 | 5 |
| 100ml | 2 | 94 | 6.5 |
| 150ml | 3 | 116 | 8 |
| 200ml | 4 | 145 | 10 |
| 250ml | 5 | 174 | 12 |
| 300ml | 6 | 190 | 13 |
| 350ml | 7 | 203 | 14 |


Reviews
There are no reviews yet.